Export an attribute table from ArcMap to Microsoft Excel

0
50

Summary

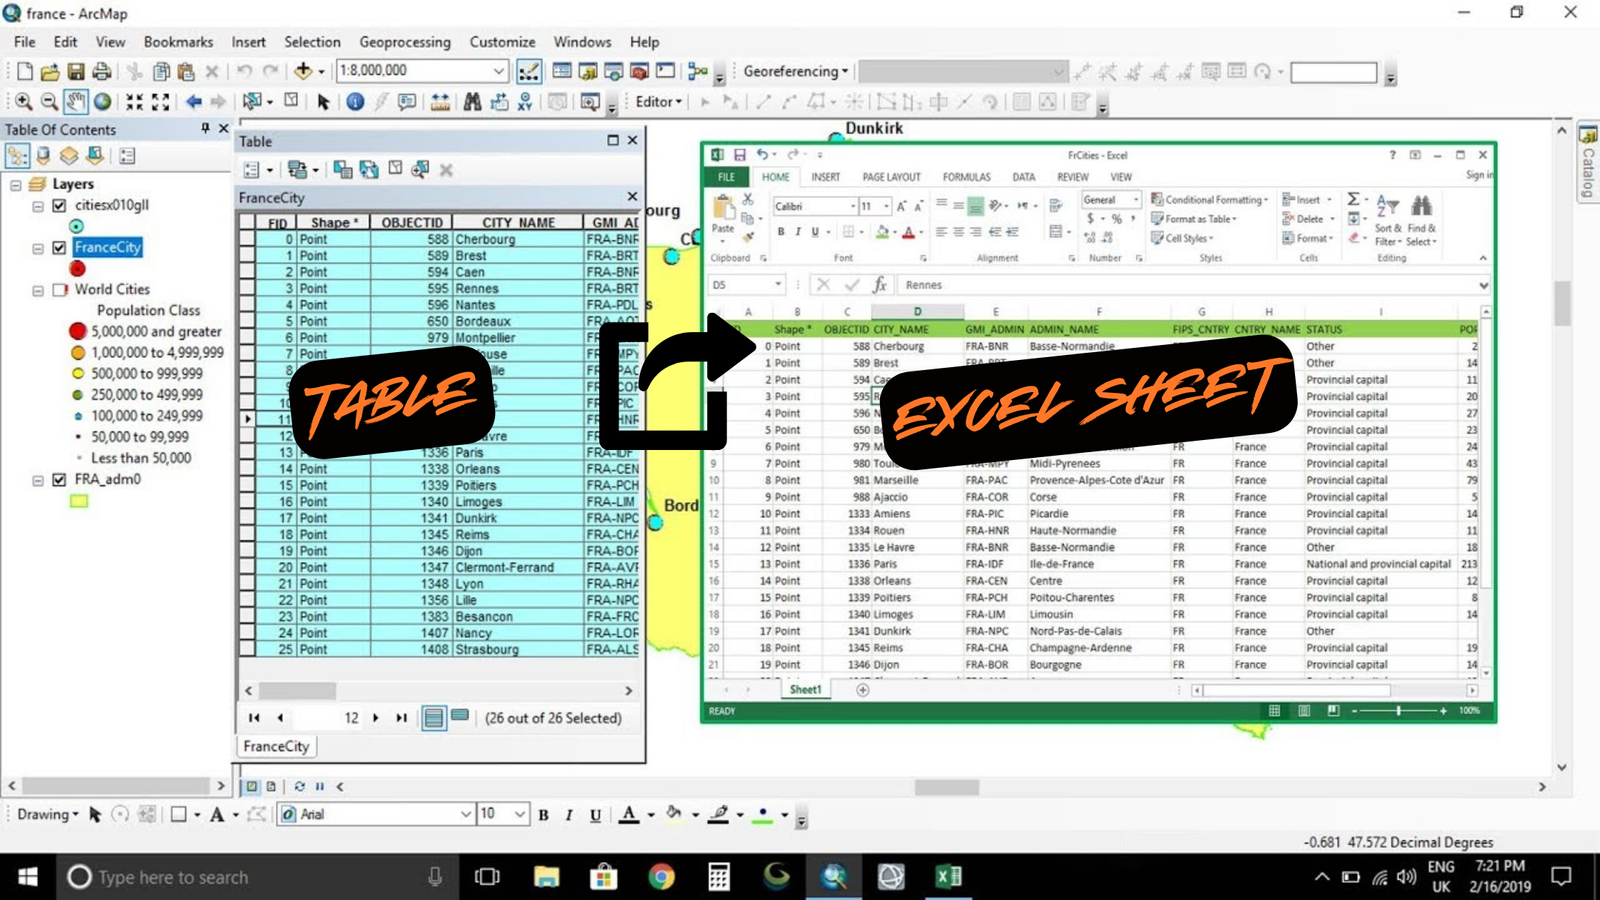
The instructions tell you how to export an attribute table from ArcMap to Microsoft Excel.

Note

ArcMap is getting old and will be retired on March 1, 2026. There won’t be any more updates for it, so it’s a good idea to switch to ArcGIS Pro. For help on switching, see Migrate from ArcMap to ArcGIS Pro.


Procedure

Use the Table to Excel tool in ArcMap

Note

Before Office 2007, Microsoft Excel could only handle 65,536 rows and 256 columns. Starting with Office 2007, it can handle up to 1,048,576 rows and 16,384 columns. But the .xls file output from the Table to Excel tool still has a limit of 65,535 rows and 256 columns.


  • Open the .mxd project in ArcMap.
  • Open the Table To Excel tool by navigating to ArcToolbox > Conversion Tools > Excel > Table To Excel.
  • In the Table To Excel window, choose the Input Table from the drop-down list, or drag and drop the feature class from the Layers pane into the Input Table section.
  • For Output Excel File, choose the folder where you want to save the table and give it a name.
  • Click OK. The Excel file will be created in the folder you chose.

Copy and paste all records from the attribute table into the Excel file

  • Open the .mxd project in ArcMap.
  • Open the layer’s attribute table by right-clicking the feature class and selecting Open
  • In the attribute table, click the Table Options icon and then select Select All.
  • Right-click the first column of the attribute table and select Copy Selected.
  • Open Microsoft Excel.
  • Right-click cell A1 in the Excel file and select Paste.
  • Save the file.

Export the attribute table to a CSV file

  • Open the .mxd project in ArcMap.
  • Open the layer’s attribute table by right-clicking the feature class and selecting Open Attribute Table.
  • Click the Table Options icon and select Export. Save the file.
  • In the Export Data window, click the browse button under Output table and choose where you want to save the exported attribute table.
  • In the Saving Data window, click the drop-down list under Save as type and select Text File.
  • In the Name section, type the name you want and change the file extension from .txt to .csv.
  • Click Save.
  • Open Windows Explorer, go to the folder you chose, and you’ll see the .csv file. You can open it in Microsoft Excel.