
In today’s digital age, screen recording software plays a crucial role in various fields, from education to content creation. One such standout tool is iSpring Screen Recorder Software. In this article, we’ll take an in-depth look at this software, exploring its features, benefits, and how it can enhance your workflow.
Password: 123
Key Features
Let’s delve into some of the standout features that make iSpring Screen Recorder Software a go-to choice for many:
1. High-Quality Recording
Achieve crystal-clear recordings with ease, ensuring your content looks sharp and professional.
2. Audio Narration
Seamlessly add your voice to your recordings, making explanations and tutorials more engaging.
3. Real-Time Editing
Edit your recordings on the fly, saving you time and effort in post-production.
4. Flexible Output Options
Export your recordings in various formats, optimizing them for different platforms.
A Step-by-Step Guide
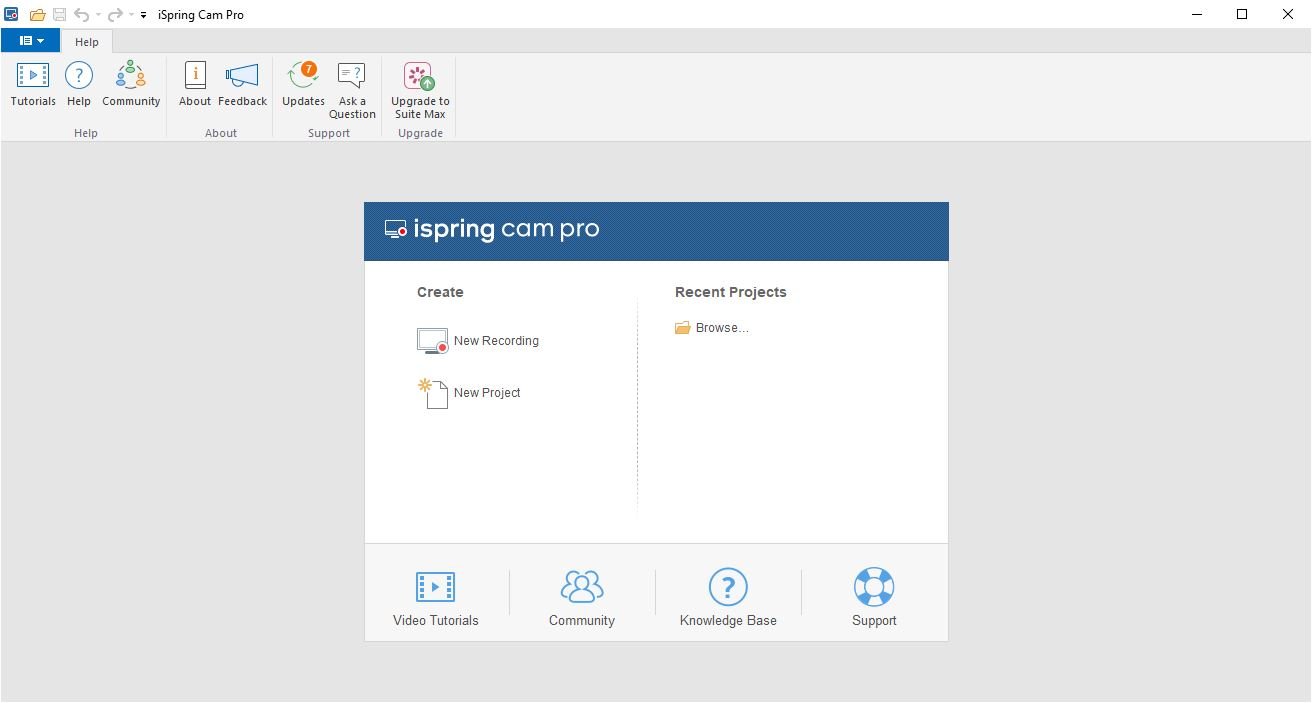
Step 1: Installation
Begin by downloading and installing the software on your computer. The installation process is straightforward, and you’ll be up and running in no time.
Step 3: Audio Setup
Before recording, ensure your microphone is properly configured. iSpring Screen Recorder Software allows you to record both system audio and your voice.
Step 5: Editing
After recording, take advantage of the built-in editing tools to enhance your content. Trim, cut, and add annotations to make your video more informative.
Step 2: Recording Your Screen
Launch the software and select the area of your screen you want to record. You can choose to record the entire screen or specific applications.
Step 4: Start Recording
Click the “Record” button and begin your presentation or tutorial. The software captures everything on your screen, including your voice if you choose to narrate.
Step 6: Exporting
Once you’re satisfied with your recording, export it in your preferred format, ready to share with your audience.